Start from Scratch
If you’re brand new to Pierre, this crash course helps you set up a new workspace on Pierre, from signing up after you receive an invite to creating and pushing your first project.
Sign In
Ready to create your Pierre account and first workspace? Sign in to Pierre for the first time and get yourself setup. We recommend signing in with Google, but you can also request a magic link be sent to your email.

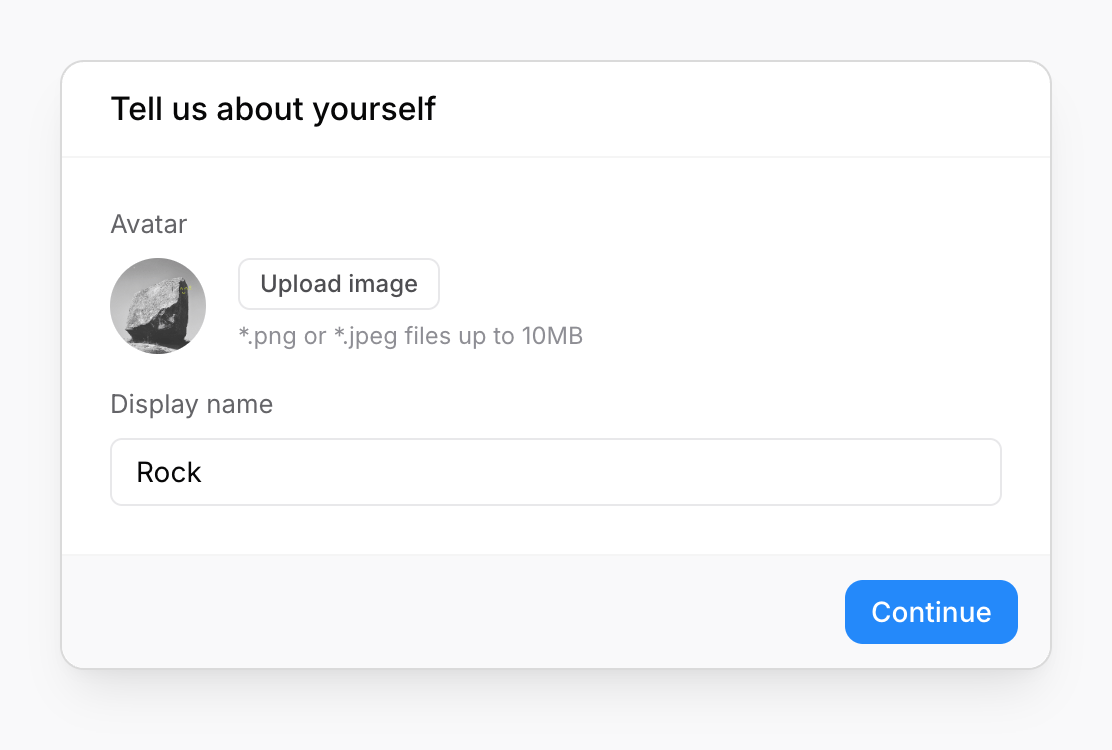
Tell us about yourself
After signing up, you’ll be asked to upload a photo and set your display name.

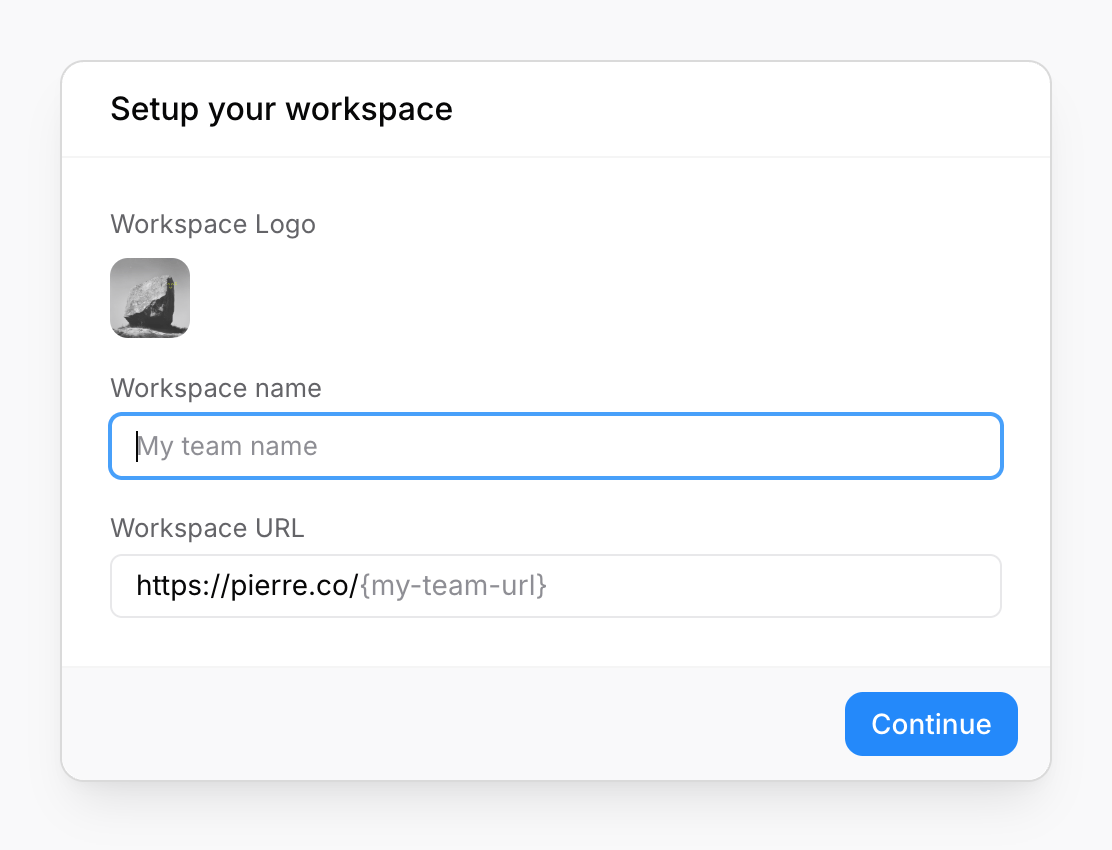
Setup your workspace
Next upload a workspace image, or select an emoji–and give your workspace a name.

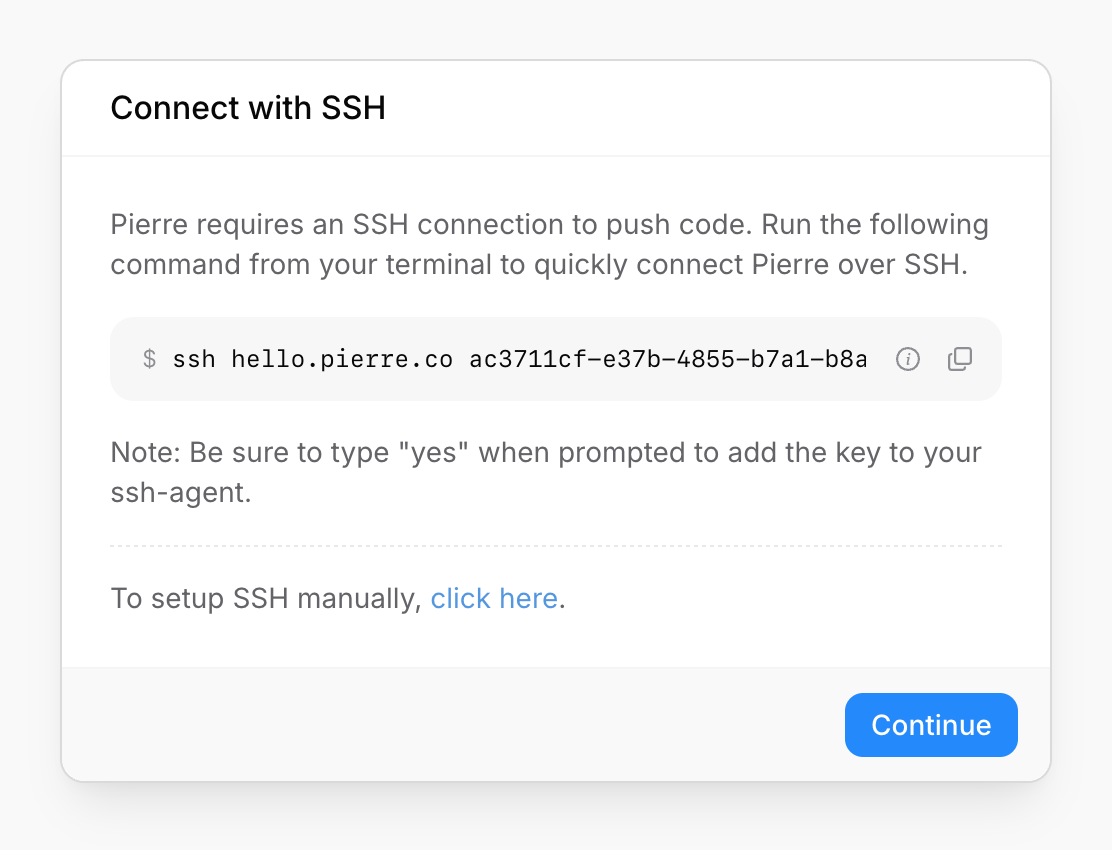
Connect with SSH
After you’ve signed into the workspace, you’ll need to setup your SSH keys so you can authenticate with Pierre’s servers to push and pull changes. The easiest way to do this is by running our signup SSH helper.

In some cases, you may need to manually add your SSH key. If that's the case, you can do so by following the instructions in our manual SSH guide.
Manually setup your SSH KeysOnce you’re done with SSH, continue onto the next step here.
Push your first repository
You're almost set. Complete onboarding by pushing your frist repository. This should be as easy as giving your repo a name, setting a default branch, and then pushing.

From your terminal, run the included code for either pushing an existing repository or creating a new one from scratch.
Success! Your project is now on Pierre and ready for you to start working on it.
Next Steps
Nice! You’ve setup your new workspace on Pierre and have your local environment ready to go! When you’re ready, consider looking over our guides to familiarize yourself with Pierre.
- Workspaces: Learn how to manage workspaces, invite new members, and create new workspaces.
- Repositories: Learn about using and navigating repositories on Pierre.
- Branches: Learn how to create, merge, and delete branches in your repositories.
Joyful code review
Pierre wants you to enjoy code review with your team. So, we built a ~NEW~*~ Git platform to do just that.
We're in public beta! Join our Discord to share feedback and chat with the Pierre team.